For this workshop I’m looking at why you should simplify your drawings, when to add more details and how to make this into an effective 30 minutes workshop.
And remember, this is still not art, just drawing skills so you can communicate better at work.
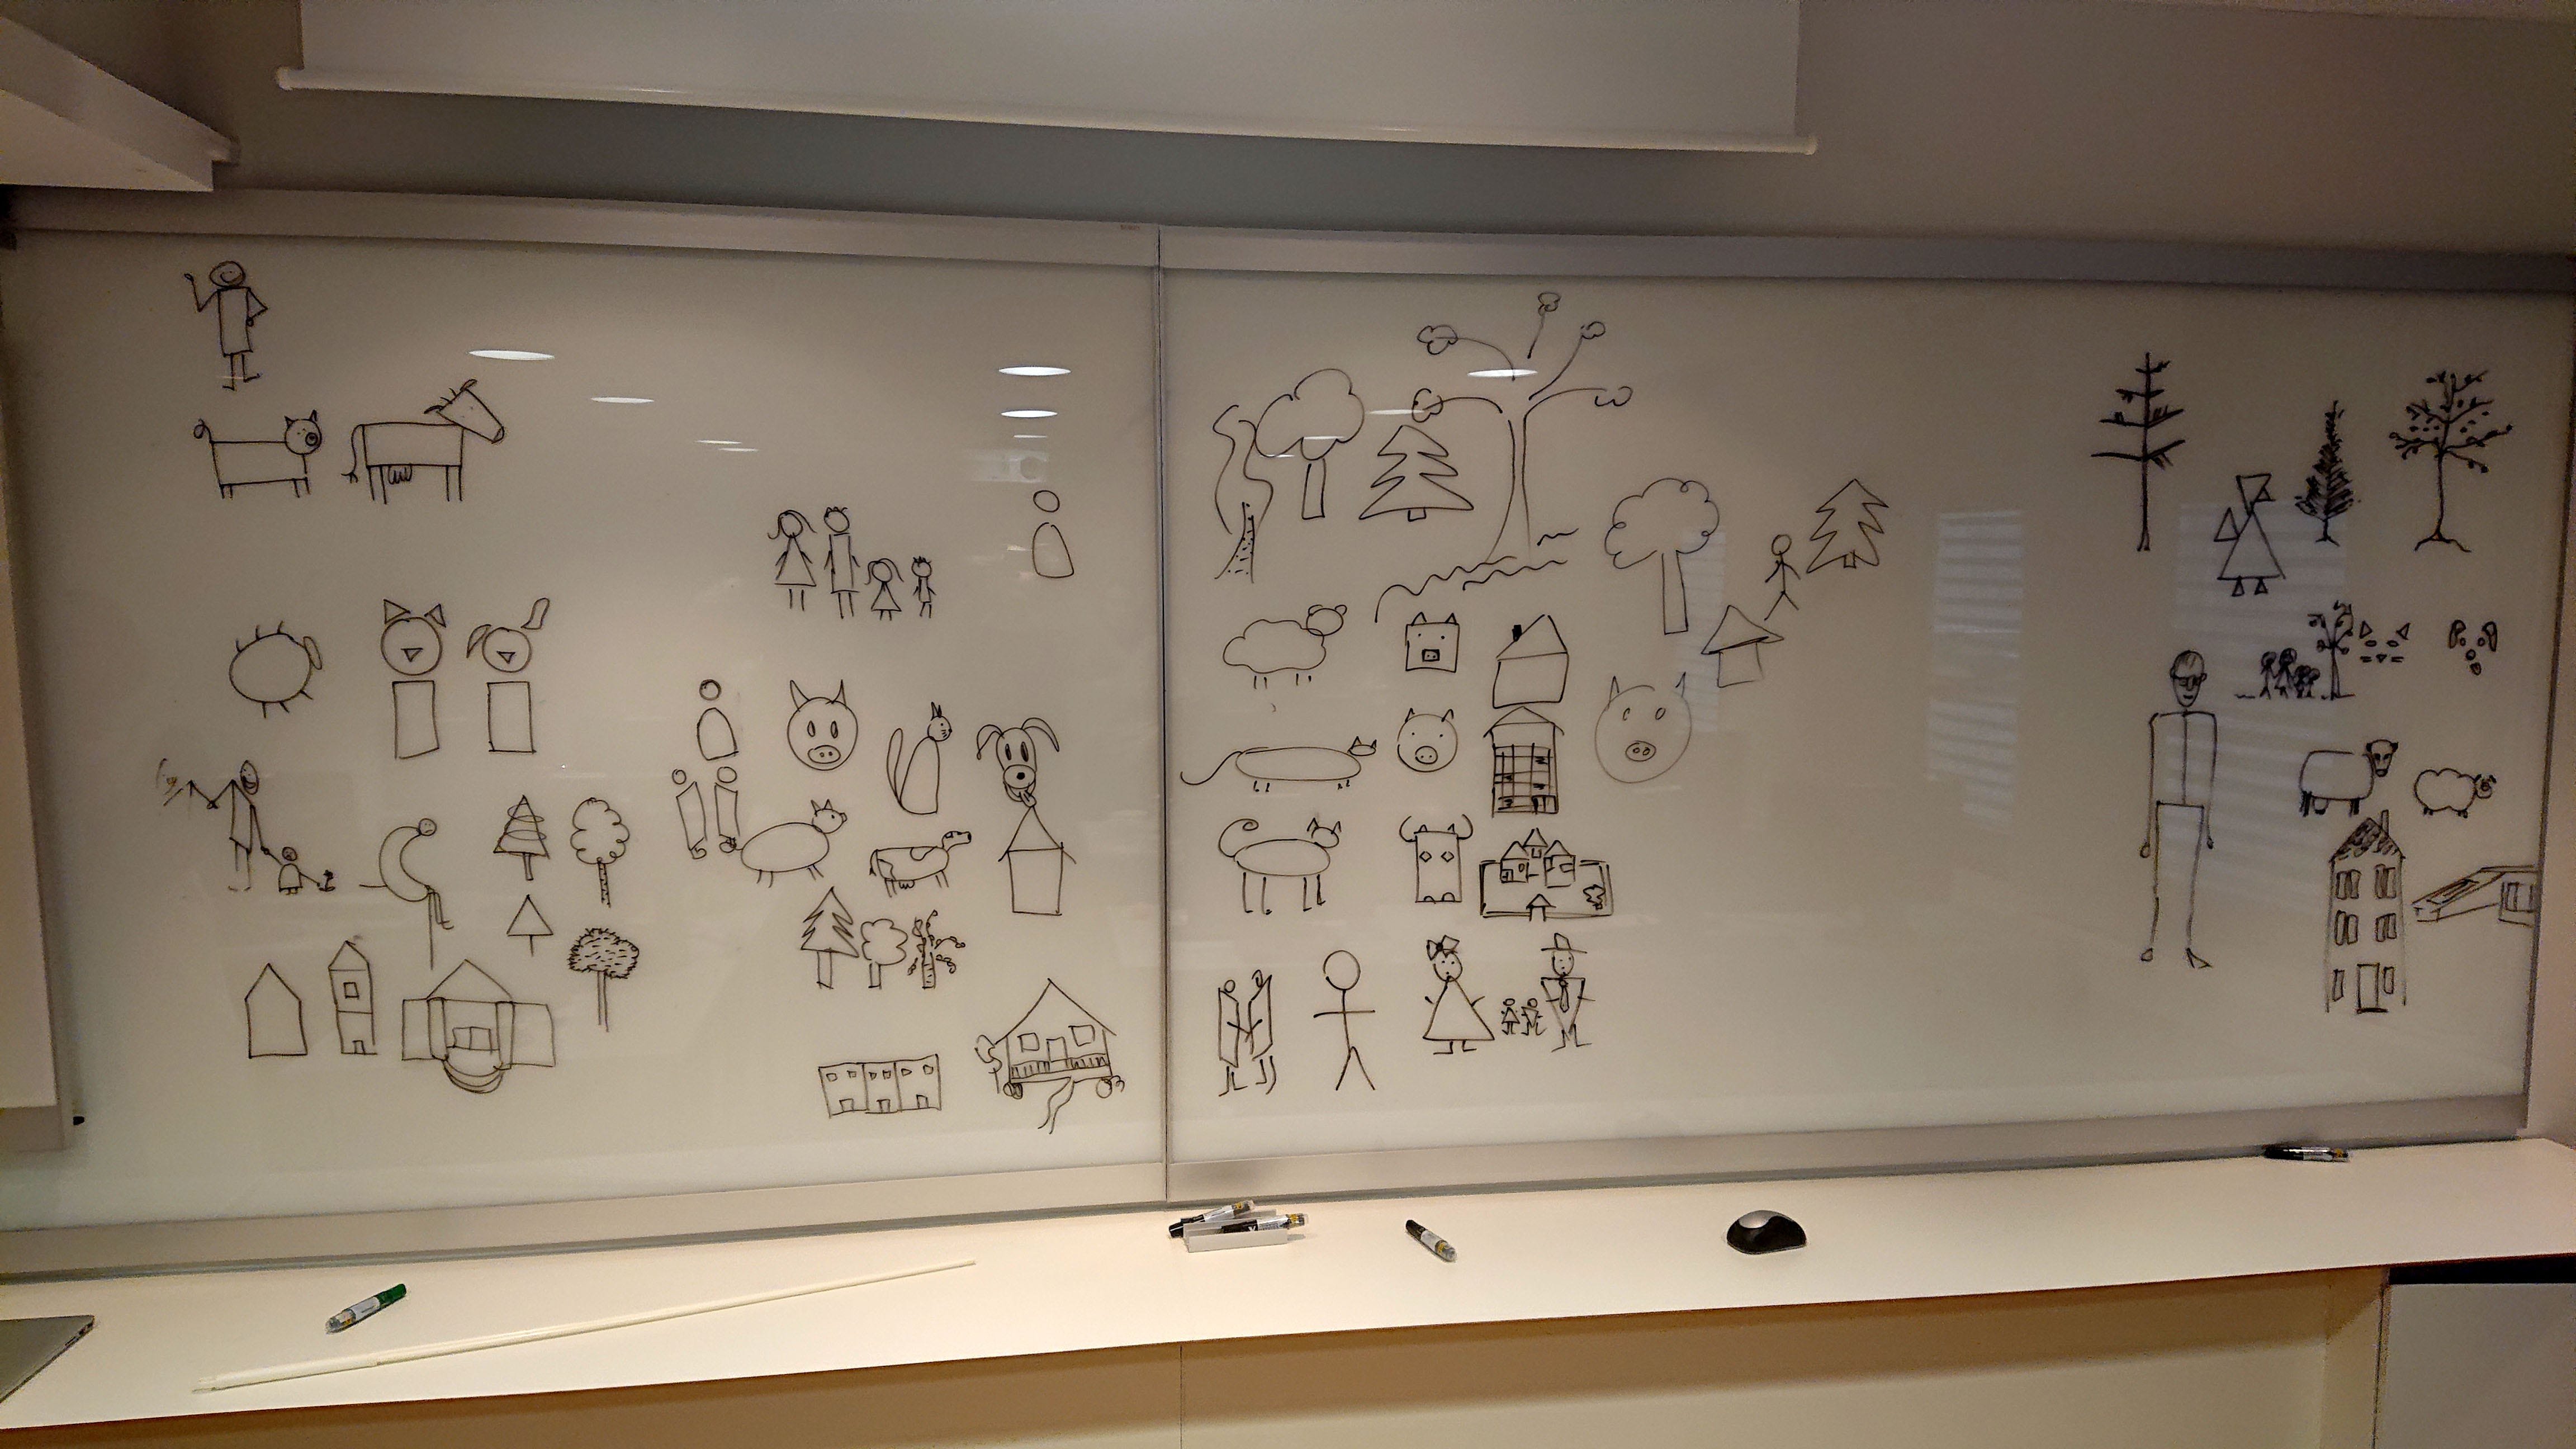
Workshop setup — part of Drawing to communicate workshop series.
Why simplify and why not make it nice?
Speed and main info
What you want to do is to communicate. For this, you don’t want unnecessary details, and you also want to be finished within a reasonable time. But you do want to have the necessary details. The result of all the parts of your drawings being on the same “artistic” level is that no parts will be perceived as crappy, and the communication will be clear.
Drawing simple and consistent makes your audience focus on the content of your drawings, not the style or artistic level. Over time you’ll also develop your own style. And using your own drawings for presentations is great. It’s a lot better than surfing the web for tacky illustrations and photos, plus you’ll tell the story in a better way.
Simplify and differentiate — the workshop
1. Show simplifying vs. differentiating (2 minutes)
Show (draw) that if you want to draw something living, an amoeba is easy and good enough. But if you want to differentiate between a human and an animal you need to make both a bit more elaborate than just a blob with some hair.

Rectangles are good, because they can have a perspective. But not always a necessity. You can make stick figures too.

Basically, you’re showing that with very few details, you can make an audience perceive the difference between a human and an animal. The differences here being vertical vs. horisontal body, position of limbs and no tail / tail.
2. Time to draw, part 1 (2 minutes)
Tell the participants to draw:
- An animal (Yes, you just drew that. It is just to get them going, putting the pen to the board and draw something).
- After 30 seconds, tell them to draw a dog and a cat. Here they need to figure out some simple and significant differences between the two.
It’s all about tempo. Get them to draw a lot, quickly. This way they can’t use time on being self-conscious and thinking about how their drawings look. If they finish before time, they can draw a second version.
3. Show some ways of differentiating (2 minutes)
Draw body parts for an animal, a dog, and a cat and show how you can tweak simple visual library “letters” to achieve what you want.
Look at body shape, head shape, ear tilting, nose details and tail. All these details are not necessary, and there are a lot of others, too. Just to help them towards thinking “as simple as possible and still different enough”.


3. Time to draw, part 2 (2 minutes)
Tell the participants to draw:
- A pig and a cow
4. Explain why it will get easier (2 minutes)
Show and tell why things get easier over time. A lot of people (in my part of the world at least) know how to draw a pig, but maybe not a cow. But when you’ve figured it out once, you’ll have it in under your belt, and can just use the same solution next time.


5. Time to draw, part 3 (10 minutes)
- A person. A single person and a family person.
- A tree. Then a birch and a spruce. And then a pine tree and a birch tree.
- A car. Then a station wagon and a convertible.
- A house. Then a townhouse and a villa.
6. Input and time to draw, part 5 (5 minutes)
Ask people what was it that made something hard to draw, and give them suggestions on how they could have solved it. Let them try drawing once more the thing they struggled with.
Tweak it to your needs and give it a try!
The workshop doesn’t need to be this short. It was originally just 20 minutes to get to run it twice within a timeframe that was already set. But if you decide to make it longer, it is still good to make it a bit hectic, so the attendants understand that they just have to draw right away, and not think so much about how their drawings look.
I hope you get to test this or a similar workshop, and feedback/critique is always welcome =).